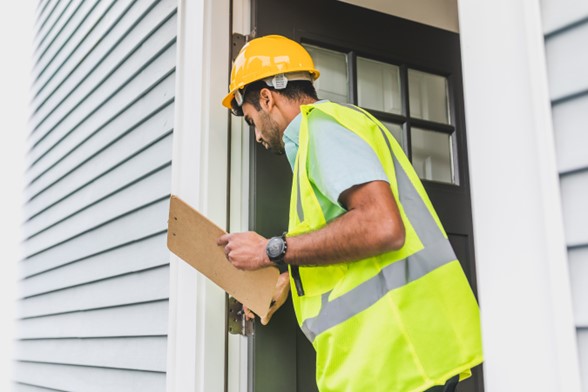
Several months ago, we discussed how to prepare for a property inspection. Now, we’re diving into the value of a property inspection service. Property inspections are useful in a variety of situations. The one people most commonly think of is during a home or property sale prior to closing. Another instance is for routine rental maintenance and upkeep. There are other instances as well, which we will discuss in this post. An inspection not only gives you peace of mind that you are purchasing a safe property but is also important for future planning as well. While not all property issues require immediate fixes, some are more important to prioritize than others. We compiled this guide to property inspections that should clear up any questions on the value of these inspections, the items that will be inspected, in addition to the most common issues found.
Property inspections are most often associated with identifying any outstanding needs prior to a property sale. But did you know there are other hidden benefits to property inspections?
1. Identify Property Maintenance Issues Early
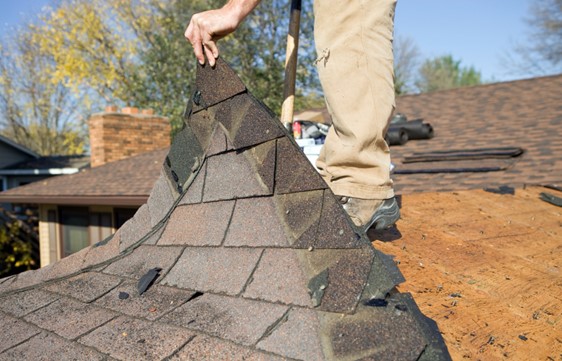
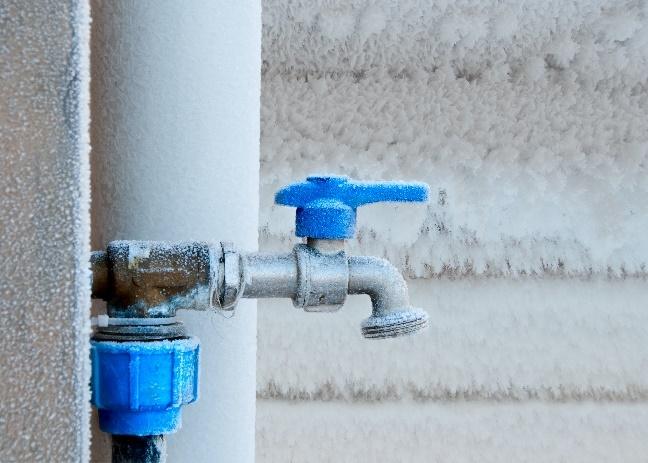
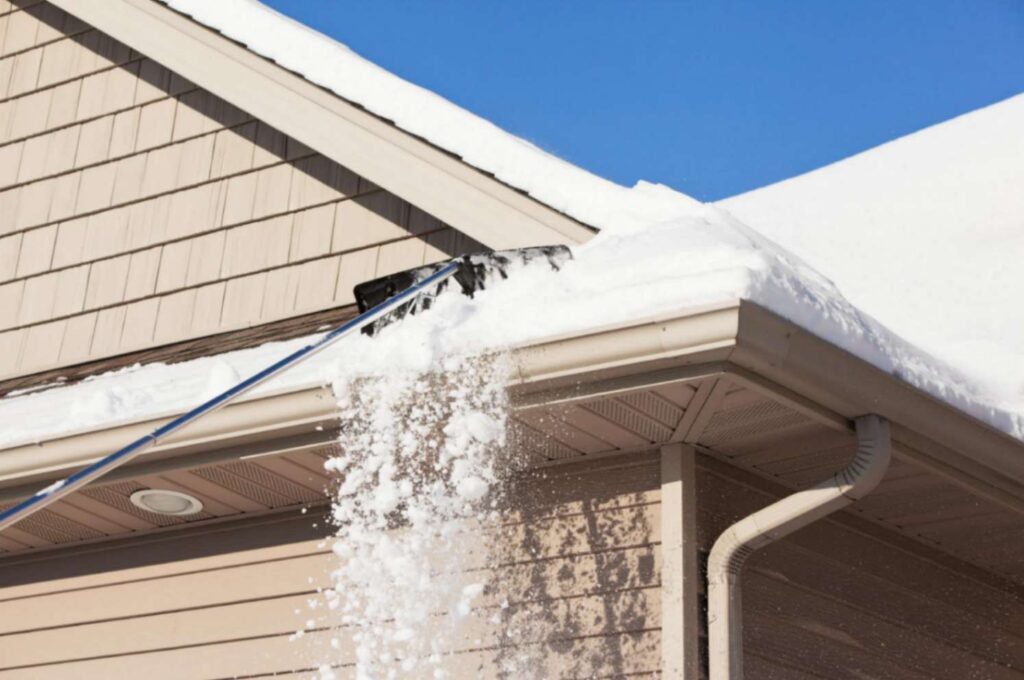
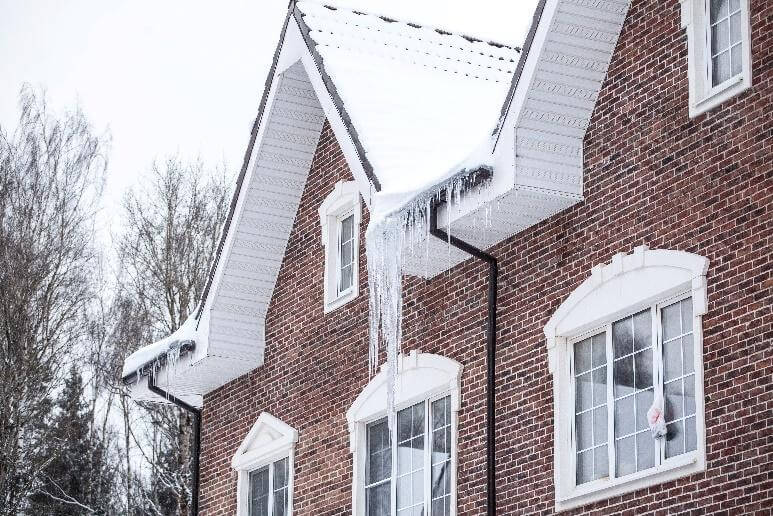
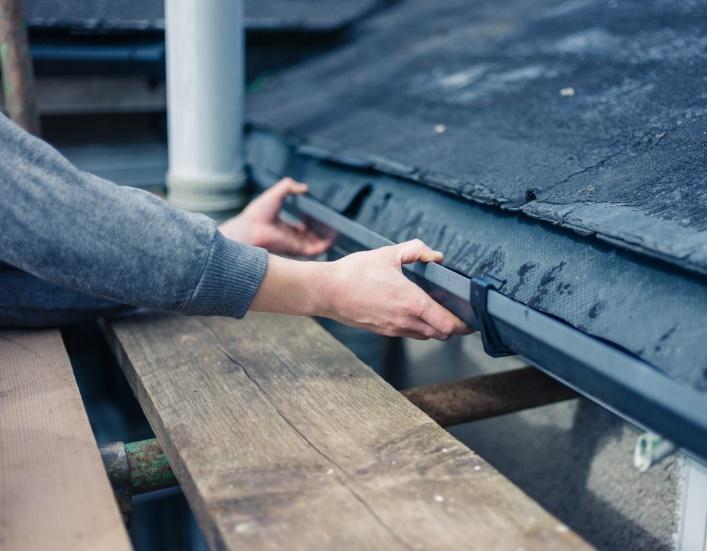
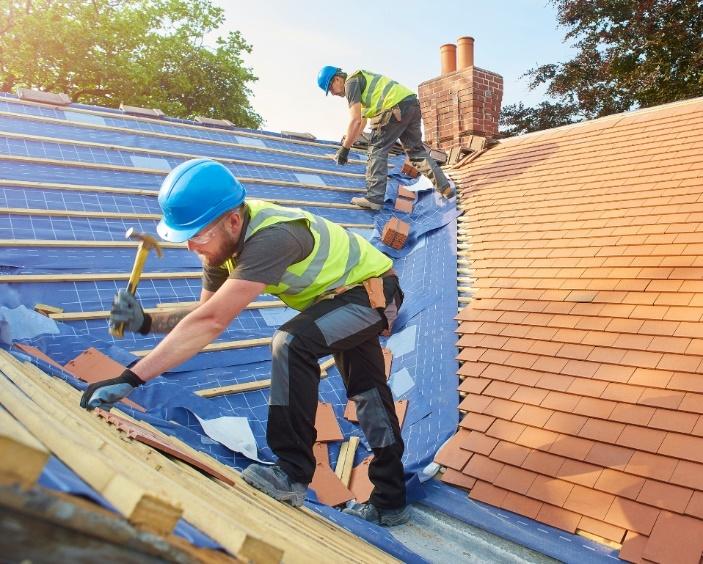
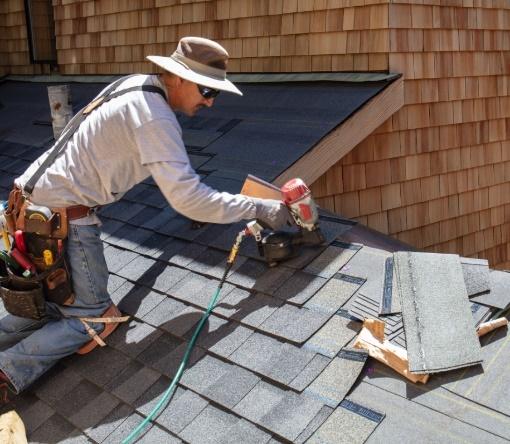
Time, weather, wear and tear, and numerous other factors can degrade your property. These factors can impact the roof, foundation, plumbing, electric systems, and many other elements of your property. Property inspections can identify these issues quickly so you can take steps to remedy them before they worsen, costing you much more.
2. Preserve or Improve Property Value
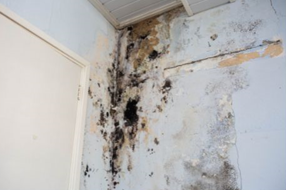
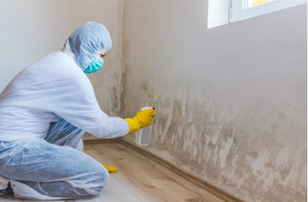
Issues such as pests, leaks, structural damage, or electrical system problems contribute to a loss of both money and property value. Routine inspections, even outside of the initial inspection prior to purchase, can ensure that you are aware of these issues and can address them quickly before they escalate. Inspections help maintain aesthetics and functionality of a property, and in turn, may lead to more potential renters or buyers in the future as well.
3. Sales Negotiations
A property inspection report arms you with valuable information to make decisions on your next steps. From this information, you might decide to proceed with the purchase, renegotiate the price to cover outstanding repairs, ask the seller to make the essential repairs, or even walk away if the issues are too substantial. A good property inspection serves as a tool to weigh the short-term costs and long-term effects on your property.
4. Alleviate Possible Risks
Property inspections review numerous safety elements such as carbon monoxide detectors and fire alarms, among others. These inspections can indicate whether all safety precautions are up to date. Additionally, entry points will also be inspected to ensure all locks are functional too. To sum it up, a detailed property inspection goes a long way to ensure the safety of both the occupants and the property at large.
5. Long-Term Planning Assistance
Regular property inspections offer useful information that guides long-term planning efforts. Inspectors document the property’s condition during the inspection, offering you the opportunity to track issues, maintenance needs, and plan for future updates or repairs. This information helps with financial planning to address any costly repairs or upgrades necessary, saving you money over time. These inspections are particularly crucial for older properties.
6. Investment Protection
While the cost of property inspections varies, it’s a small price to pay for peace of mind and financial security. An inspection offers valuable information on the property you’re looking at – particularly if there are repairs that are too extensive or costly, or if the property is in good condition. Overall, an inspection helps you protect your investment in your property.
7. Tenant Compliance
Property inspections are crucial for rental properties too. Routine inspections ensure tenant accountability and offer insight into how the property is being maintained. While we hope this isn’t ever an issue for you, there are instances where tenants break the terms of their rental agreement and cause damage to the property. These inspections may offer a chance for preventative maintenance for future issues too.
8. Tenant Satisfaction and Lower Vacancy Rates
Routine property inspections are also vital to tenant happiness. Inspections can identify and allow you to handle issues quickly, preventing larger concerns that may cause tenant dissatisfaction. By committing to regular inspections, you not only show that you value a well-maintained environment, but you care about your tenant’s well-being too. This, in turn, creates a positive tenant-landlord relationship by building effective communication and trust. Additionally, tenant satisfaction leads to extended leases and eliminates some of the costs affiliated with finding new renters. It may even lower your property’s vacancy rates too.
9. Legal and Safety Compliance
For instances when you’re renting out the property, inspections are vital to ensure that you are compliant with safety regulations. Not complying with safety regulations can not only harm your tenant’s wellbeing, but also your legal liability. These property inspections offer a chance to identify and correct issues before they become dangerous. Neglecting routine property inspections can lead to severe legal repercussions such as financial penalties and reputation damage. If there’s an accident or a tenant complaint due to negligent property management, a lack of a proper inspection report can lead to legal liability. Committing to routine property inspections is one of the best ways to protect yourself, your tenants, and your investment.
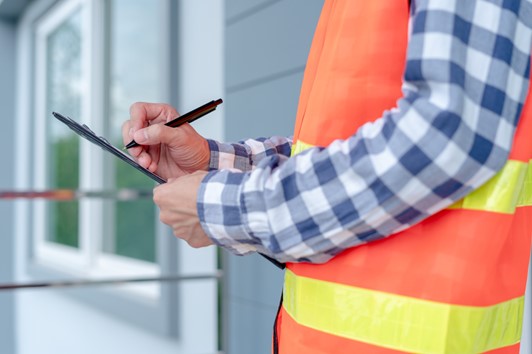
We discussed the numerous benefits of a property inspection… so what does property inspection even entail? Here are several details your property inspector will review:
- Septic tank and pipes
- Roof condition
- Electrical outlets
- Insulation
- Circuit breakers
- Basement/garage foundations
- Window and door alignment
- Fire and carbon monoxide detectors
- General condition of doors, windows, ceilings, floors, and walls
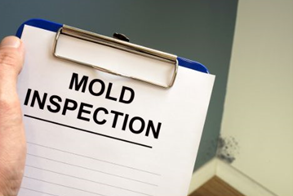
Each of these components contribute to a clearer understanding of the property’s condition. While we hope these aren’t the case for you, here are some of the most common issues found during a property inspection:
- Electrical issues
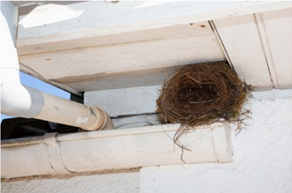
- Pest infestations
- Safety and security issues
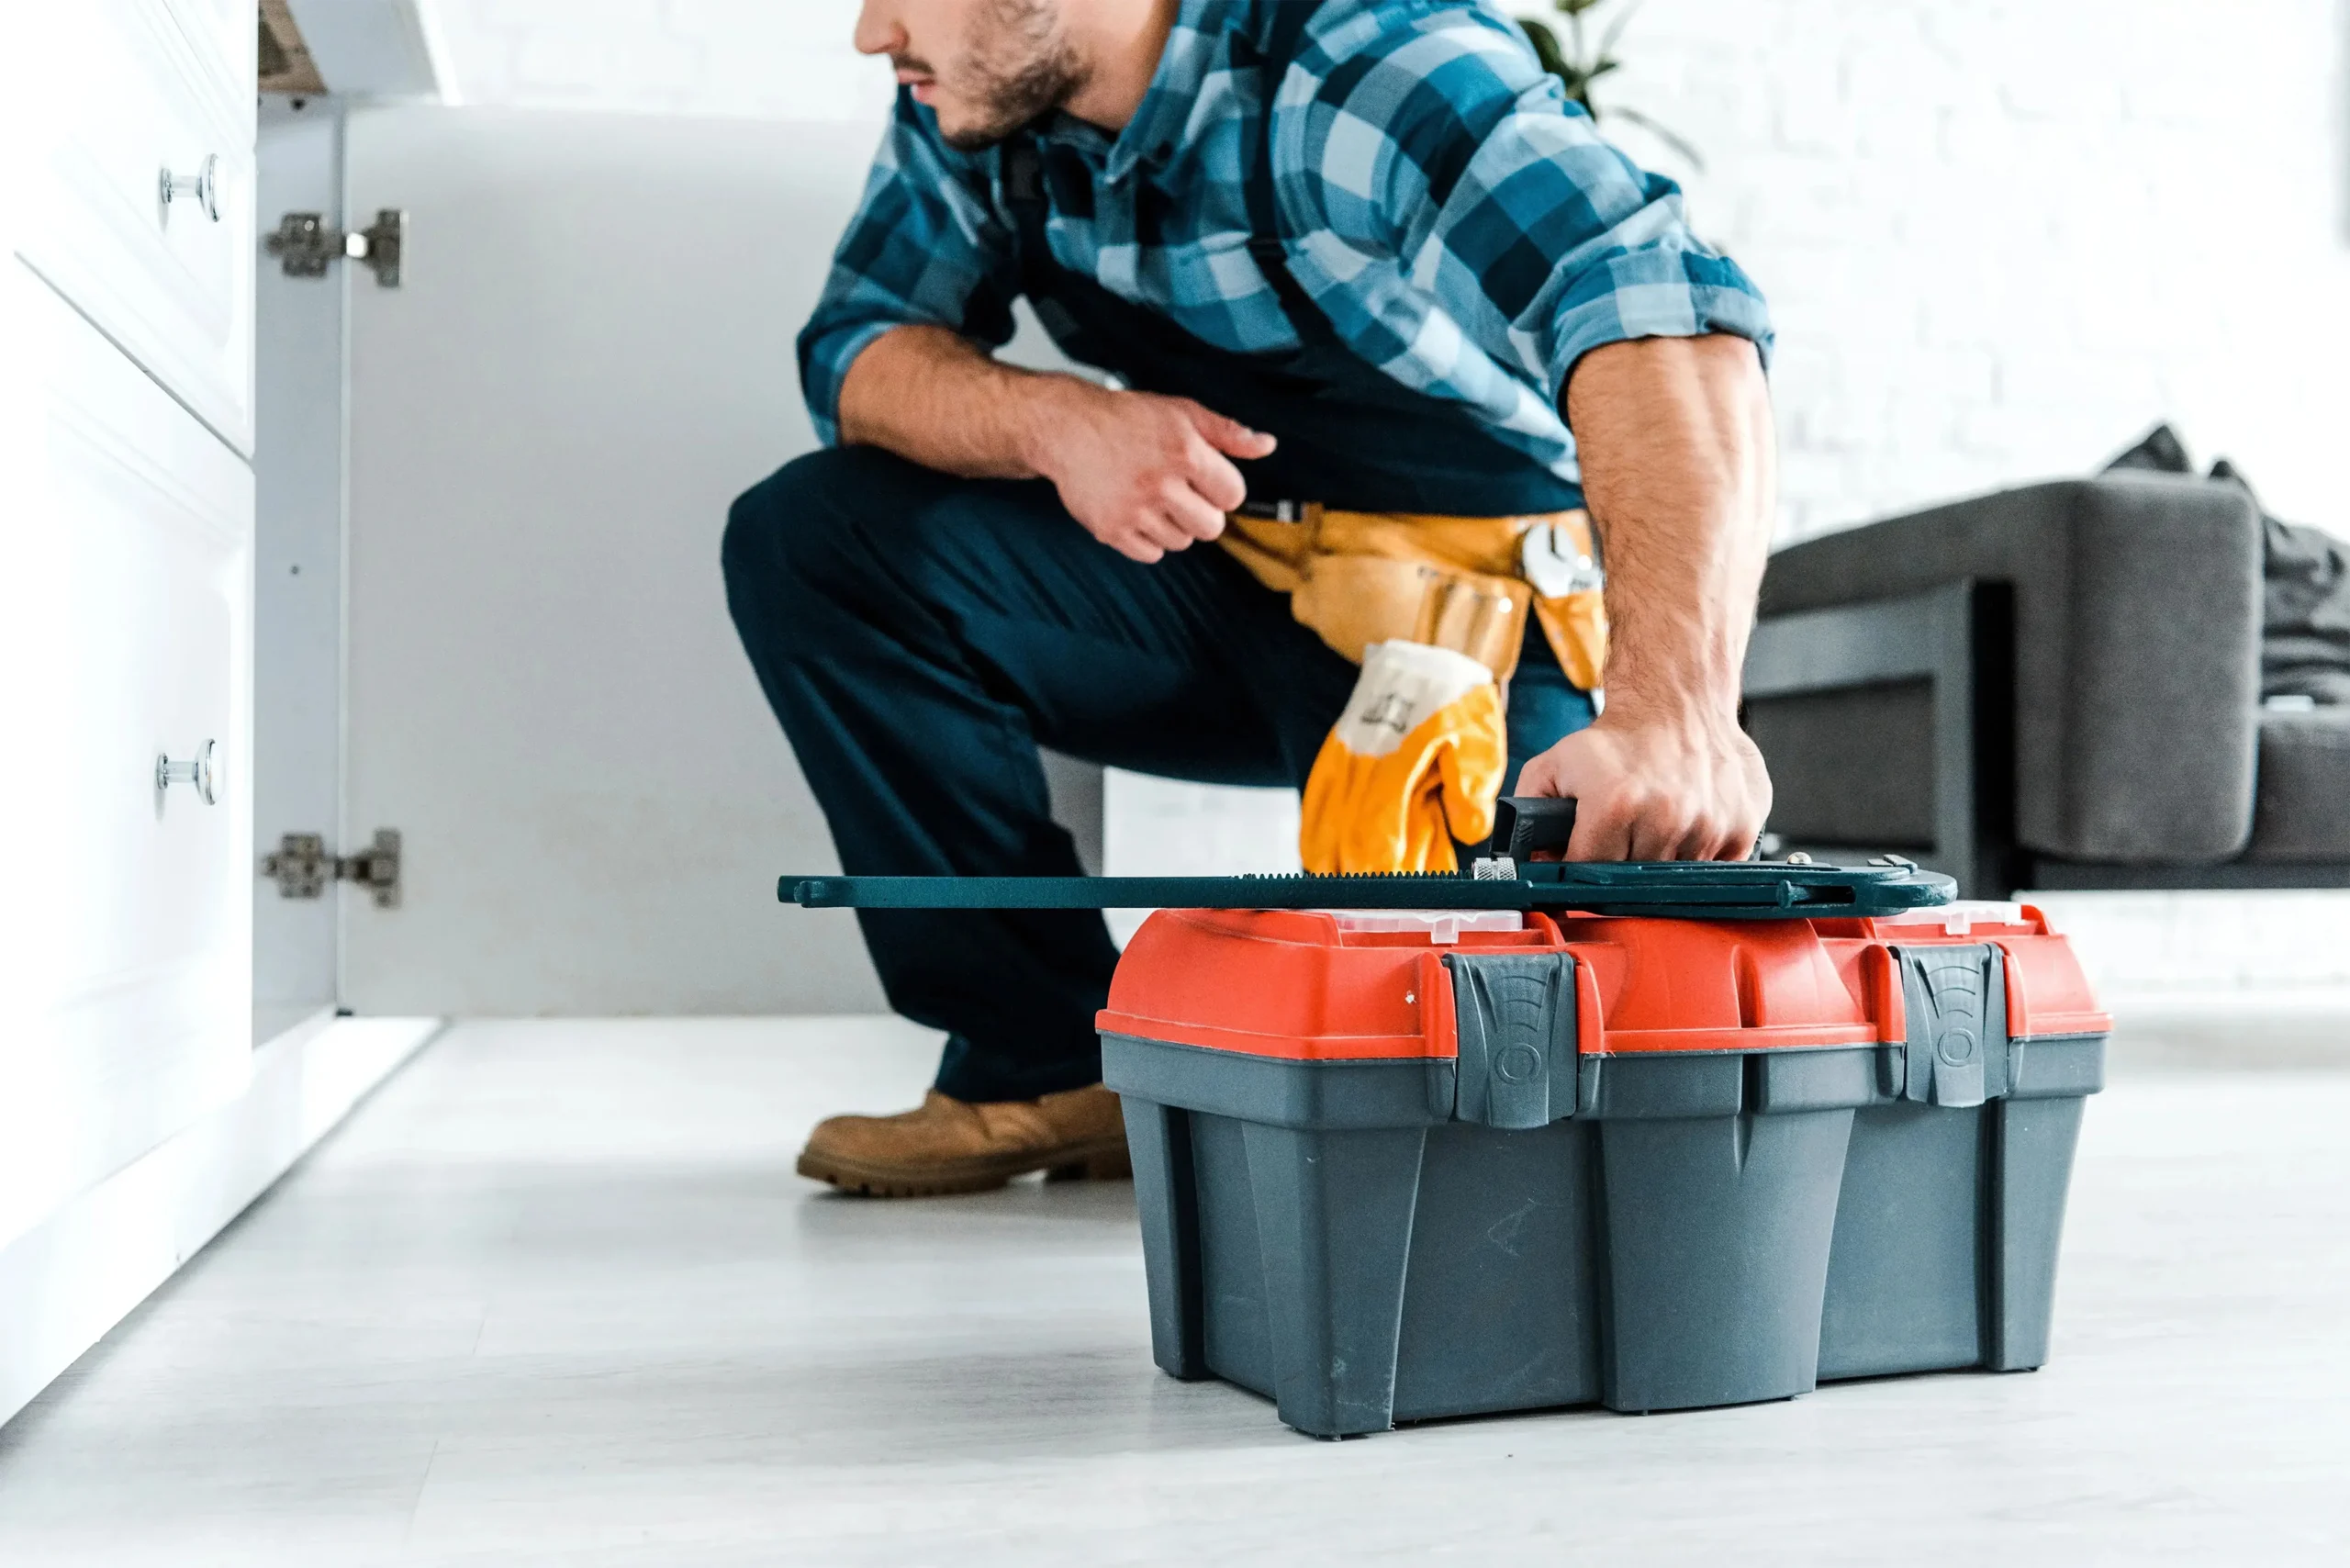
- Plumbing and leaks
- Structural damage
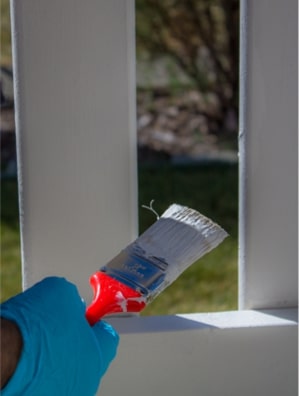
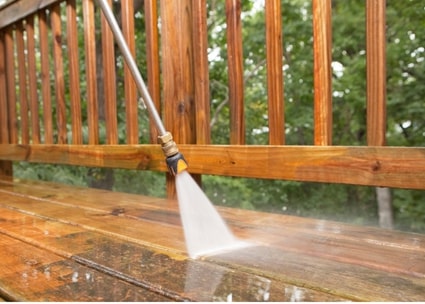
- Other exterior maintenance issues
Are You Looking for a Property Inspection?
Property inspections are a vital part of property maintenance services. If you are searching for a qualified property inspector in the Charlotte, Raleigh/Durham, or Greensboro areas, give Capital Exteriors and Renovations a call. We offer numerous services tailored to your property maintenance needs including certified home and commercial inspections, reroofing, carpentry and handyman services, drywall repairs, and many other services. Fill out our quick contact form for your free quote today or give us a call at 704.618.0526.